
Easy Guide To Running Onboard Server Diagnostics - Gen. 11, 12 & 13
Posted by Dylan Kerling, Dell Certified Technician on 18th Mar 2019
TechTip #2: How to Run Onboard Diagnostics - Gen. 11, 12 & 13 Servers
Starting with Generation 11, Dell built into its servers lifecycle controllers. These servers also come with onboard diagnostics for testing almost all of the hardware within the system. To help you utilize these tools, here are seven steps on how to run onboard diagnostics.
- The first step is reaching the onboard diagnostics so you can boot the system into the lifecycle controller. To do this, click "F10" while the system is going through its POST process. It will start by saying, "press f10 to enter system services" on the top right-hand corner of the screen. When pressed, it will change the message to inform you that it will attempt to boot into the lifecycle controller at the end of POST.
- After the system has booted into the lifecycle controller, which can take several minutes depending on the model, the system will show a UEFI menu with full mouse and keyboard support. Look for "hardware diagnostics" on the left-hand column of options.
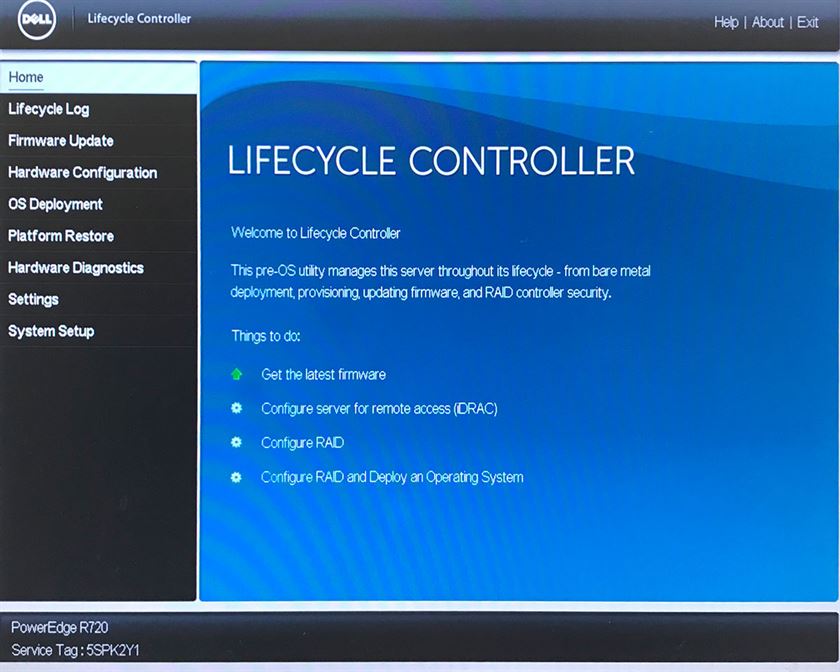
Image 1: Dell Server LifeCyle Controller Menu - Once the "hardware diagnostics" option is selected, there will be a link on the right to click.
- On Generation 11 servers, you will be brought into a two-option menu after entering the hardware diagnostics. One of the options will be "MPmemory," and the other is "diagnostics." The "MPmemory" option will allow you to run tests on all of the system memory. There is also an express option that will run a set number of tests and a custom option that will allow you to select several more time-consuming options.
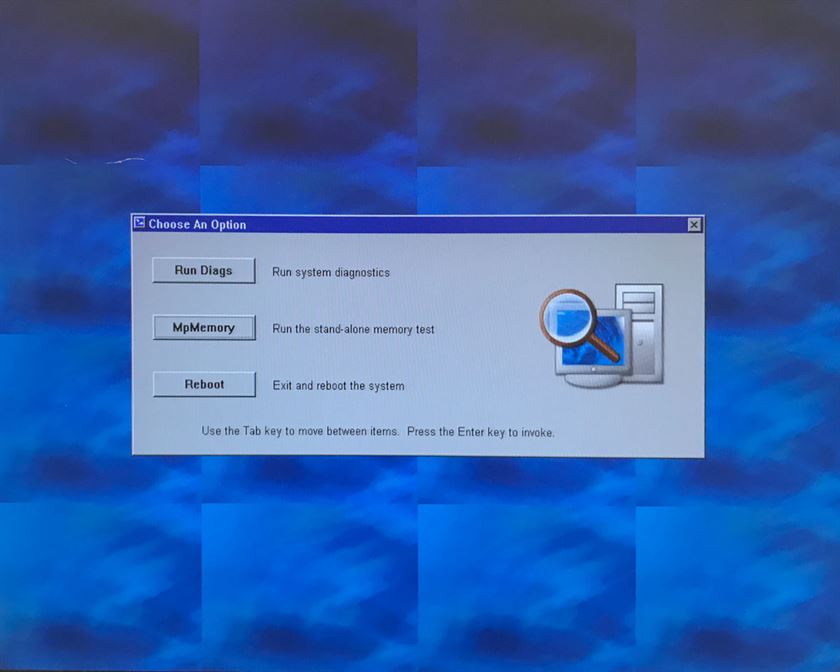
Image 2: Menu with options to run "Diagonostics" or "MPmemory" - The other menu, "diagnostics," will have many different types of tests you can run. You can either select "express" or "full tests," which will run the system through a set number of tests or you can use custom tests that will bring you to a menu where you can manually select and deselect different devices to test.
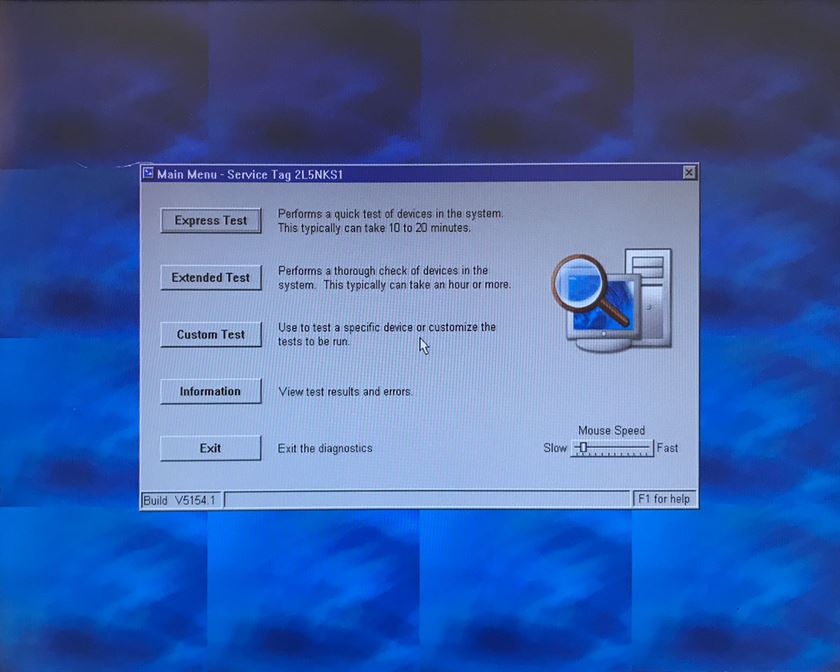
Image 3: Menu to chose which type of test you would like to run - On Generation 12 servers, the system will bring you into one single diagnostic menu, which will test everything from within one test area.
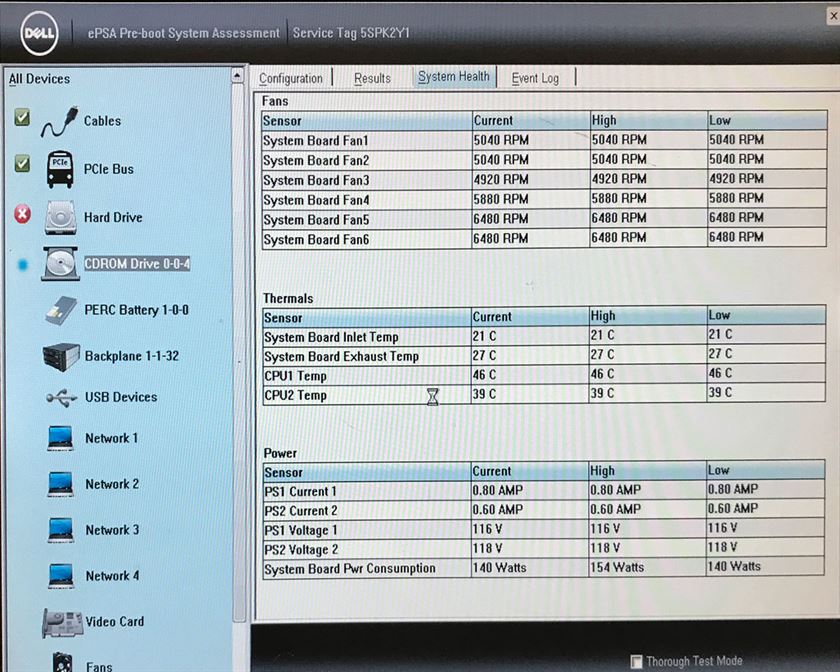
Image 4: Result from the test run. - After all your tests are completed, there should be an error readout area that will list any devices that failed. It should also give some information on what failed on each device, if any.
Call today to learn more from a network specialist at 651-633-0095.
Find additional Velocity Tech Solutions Tech Tips at #VTStechtips